Lighting Techniques for Video Content
Often taken for granted in the medium of video production is the effect that everything besides the camera has on the finished product. There are many items that fall under this category (like talent selection, scriptwriting, and sound design) but chief among them in your mind when planning your next project or campaign must be effectively utilizing professional lighting techniques in your video content.
If you are inexperienced in video production, the technology and strategy behind video lighting can be a very intimidating field to navigate. Nonetheless, it is imperative you understand the keys to using light in your video content, whether you are responsible for the videography or simply hiring/managing someone who is doing it for you, in order to incorporate as much value into the project as possible. With that in mind, we at Foundation Digital Media have put our decades of Washington D.C. corporate video production experience and technological expertise to work for you in crafting this guide to the basics of professional video lighting.
Reading The Room
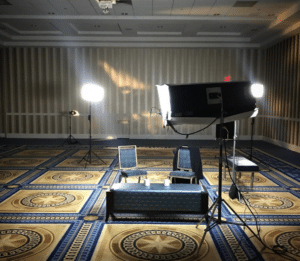
Before anything else, a good lighting strategy depends on a good analysis of the set or shooting location. While not always absolutely possible–i.e. if you’re shooting somewhere you’ve never been or for whatever reason cannot anticipate all of the shooting variables–it is still absolutely necessary to determine the conditions that the shoot will take place in.
A set walk-through or review will also help you develop the rest of your approach more easily. If you can make use of certain natural or already-present ambient light, that means potentially less work on your part. If the space doesn’t have adequate power access, you may need to consider bringing your own external battery sources for supply. It can even allow you an opportunity to discover the ways in which you can modify the set space to suit your needs, like the presence of light fixtures and practical lighting in addition to objects interfering with the placement of your gear. These sorts of decisions have to take into account the physical space itself, and your shoot will greatly benefit from doing so as much as possible.

Planning Your Set-Up
While there is no substitute for developing a location-specific strategy that makes the most out of every set, there are many common techniques you can incorporate when lighting any basic scene in a controlled setting. The most popular and effective is of course a three-point light strategy, which is ideal for any situation in which you are shooting a single subject or a fixed scene like an interview or product shot. The reason for this is because it is perfect for lighting a stable target with the most clarity and the least shadows.
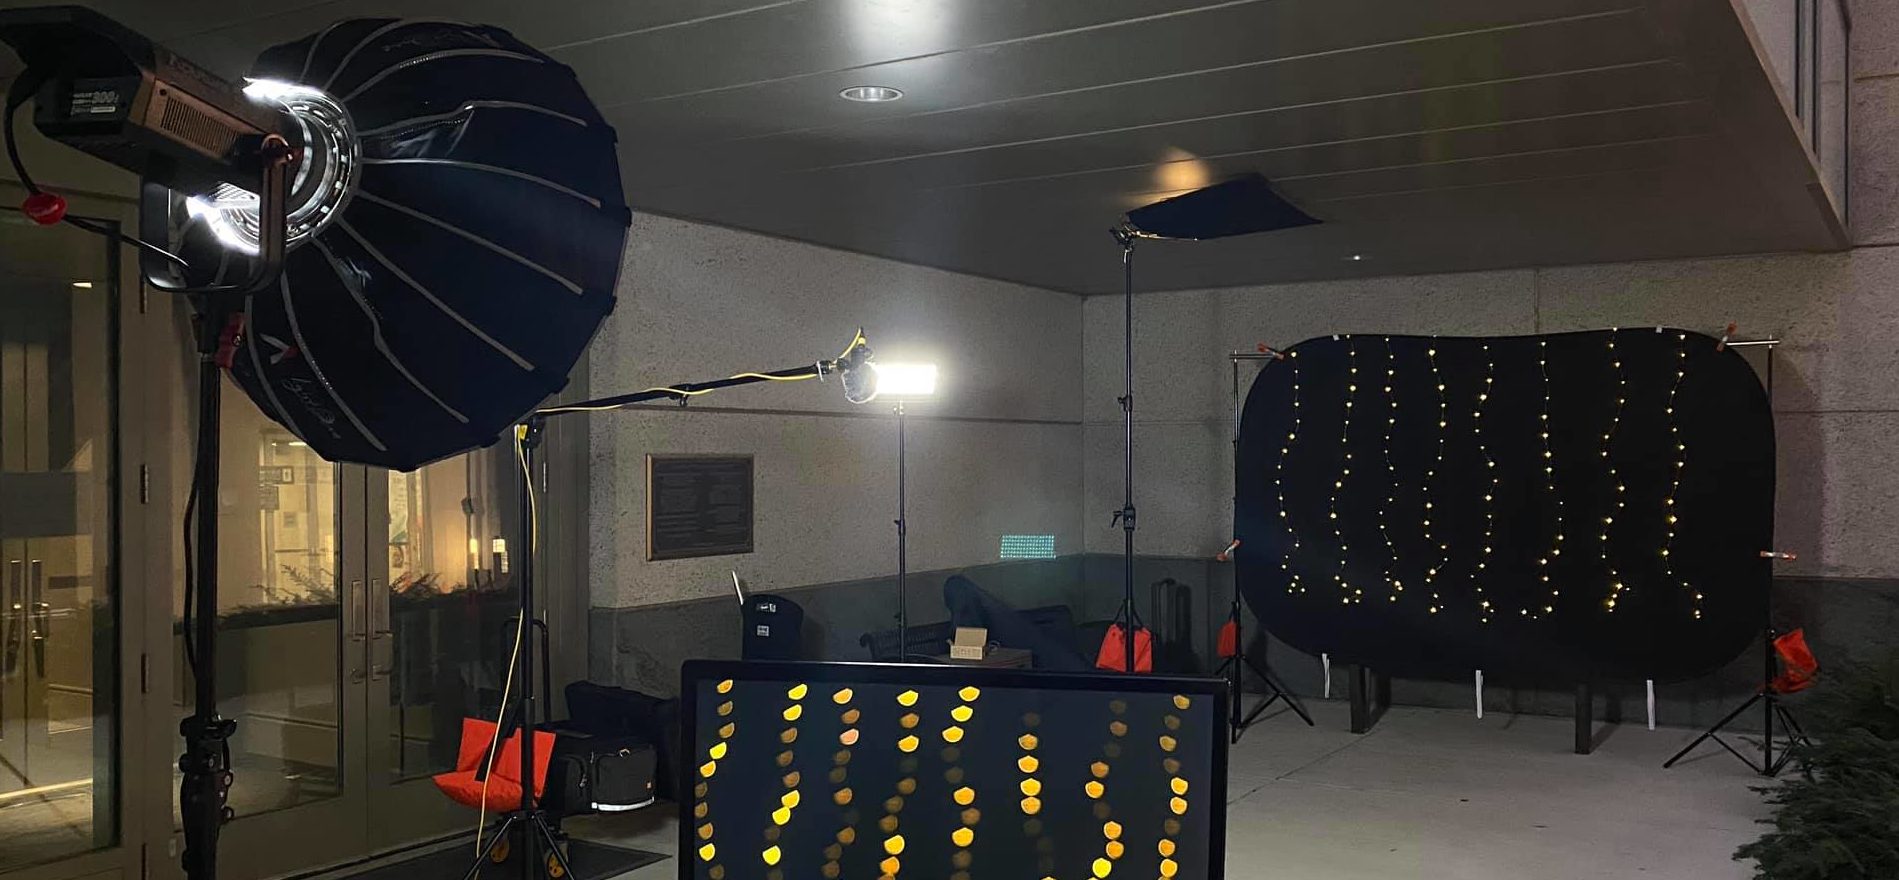
Essentially, the technique boils down to making use of three lights with very specific purposes. The first is the key light, which is typically positioned near, but not next to, the camera facing directly at the subject with a slight angle up or down. This is called the key light because it is likely going to be the most significant in representing your subject in the best and clearest way on camera if done correctly.
After that comes the fill light, which is a softer light that counterbalances the key light from almost the opposite direction to minimize deep shadows, and the backlight, a slightly brighter light which you should attempt to affix behind and above your subject pointing down to them (usually around a 45-degree angle) to make them “pop-out” from the background.
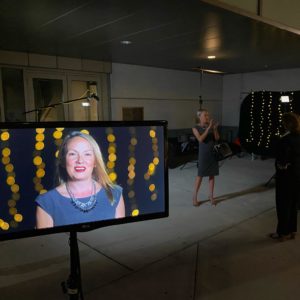
Beyond that will depend on the needs of your shoot and the resources available to you. An easy-to-forget component is planning out anything you’ll need to control the other light present at the set (particularly if not shooting in a studio setting). If in an office, you may be able to simply turn off the lights or cover any windows that let in unappealing light, but if shooting outdoors you might need to consider a diffuser screen if working with bright sunlight.

Choosing Your Gear
Once you have a rough plan in place, you’ll need to take it just one step further and decide specifically which gear to purchase or bring with you to the shoot. Obviously, the selection of lighting equipment will mostly depend on your budget but bear in mind a few things when you make your choices. The key light, and to some degree any fill lighting, are the most important to invest in for the “prettiest” looking scene. With nice ambient or present light, you may only need a key light.
You also should absolutely consider making use of diffusers like softboxes or barn doors, as the softening of your light greatly reduces harsh shadows and controls the look of the scene. You’ll also need stands for your lights, preferably ones that rotate on multiple axes so that they can be positioned in the perfect spot, that’s still out of the shot. If your power needs overwhelm what’s available at your shooting location, you may need to also bring external power supplies or generators. Don’t forget cases for everything!
Working On-Set
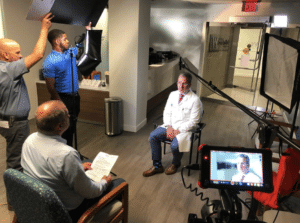
Begin setting up lighting as early as possible, especially if you’ve never been to the shooting location before, as it can often take the longest to perfect. If you’re shooting talent, you should absolutely use them or a stand-in while setting up your lights to see exactly how it’s going to shape the subject. Start with your key light to establish a base for the frame, and then use your other available lights to fill the scene as needed. Keep all of your cords organized and preferably covered if working on a high-traffic set.

Take great care when working with lights as they use a lot of power, shine very bright, and can potentially get very hot when used for long periods. This means turning them off before unplugging, handling them with gloves or allowing them to sit for a while before touching, and alerting others nearby on set before activating to avoid blinding them. When finished, pack them up tightly again and coil cords efficiently to prevent tangling. Keep all the light gear together at all times when not being used on set.
A Few Tips & Tricks
There are a few more things you might consider trying to employ when developing an effective lighting strategy. Above all else, always err on the side of softer light as it is almost always more cinematic and eye-catching. If using harsher light sources, it is absolutely recommended to use some kind of diffusion. You should almost always try to diffuse and soften the light of the sun if you can when shooting outside in full sunlight. It is also worth taking advantage of any practical or ambient light available to you, as this often adds to the cinematic quality of your production. A nice lamp next to an interview subject or sunlight through a bedroom window blind can do wonders!

Don’t be afraid to experiment, as we keep repeating everything is contingent upon your shoot anyways. All that matters is getting the best shot possible for your video content, and we hope these tips help you get on your way to doing so. If you need a little help elevating your production or want to discuss developing something even larger like a full campaign, consider getting in touch with seasoned video lighting experts and digital media strategy professionals like ourselves for a consultation today.
