Green Screen Backgrounds in Video Content
When making video content, we filmmakers have to use every tool at our disposal to set our content apart from the vast sea available to the average consumer. While not all projects or budgets are the same, that doesn’t mean we have to ever sacrifice quality when making professional video content. One of the best ways to elevate your next piece of digital media, regardless of the application, is to incorporate innovative editing solutions to polish the finished product and one of the best methods we have to do so is: the green screen.
It behooves any video producer or digital media manager to ensure that they are putting their budget to work in the most productive ways possible, and green screen compositing is a great option to do so. For those less experienced in video content production or who simply want to learn more about the technology they have hired someone to use for them, we at Foundation Digital Media have put our decades of Washington D.C. corporate video production experience and technological expertise to work for you in crafting this guide to the basics of using green screen for your next project.
Preparation
Obviously, if you’re looking into the technology behind green screen, also called Chroma Key technology, you already have some idea of the scene or shoot you are trying to create and don’t have the means to do so naturally. Once you’ve decided you want to incorporate green screen into your project, you first must make sure you have the tools necessary to do so. The basics are, of course, a digital camera, a computer with video editing software (that has the means to do Chroma Keying), a way to get the files from the camera to the computer like a memory card or cable, and the green screen itself.

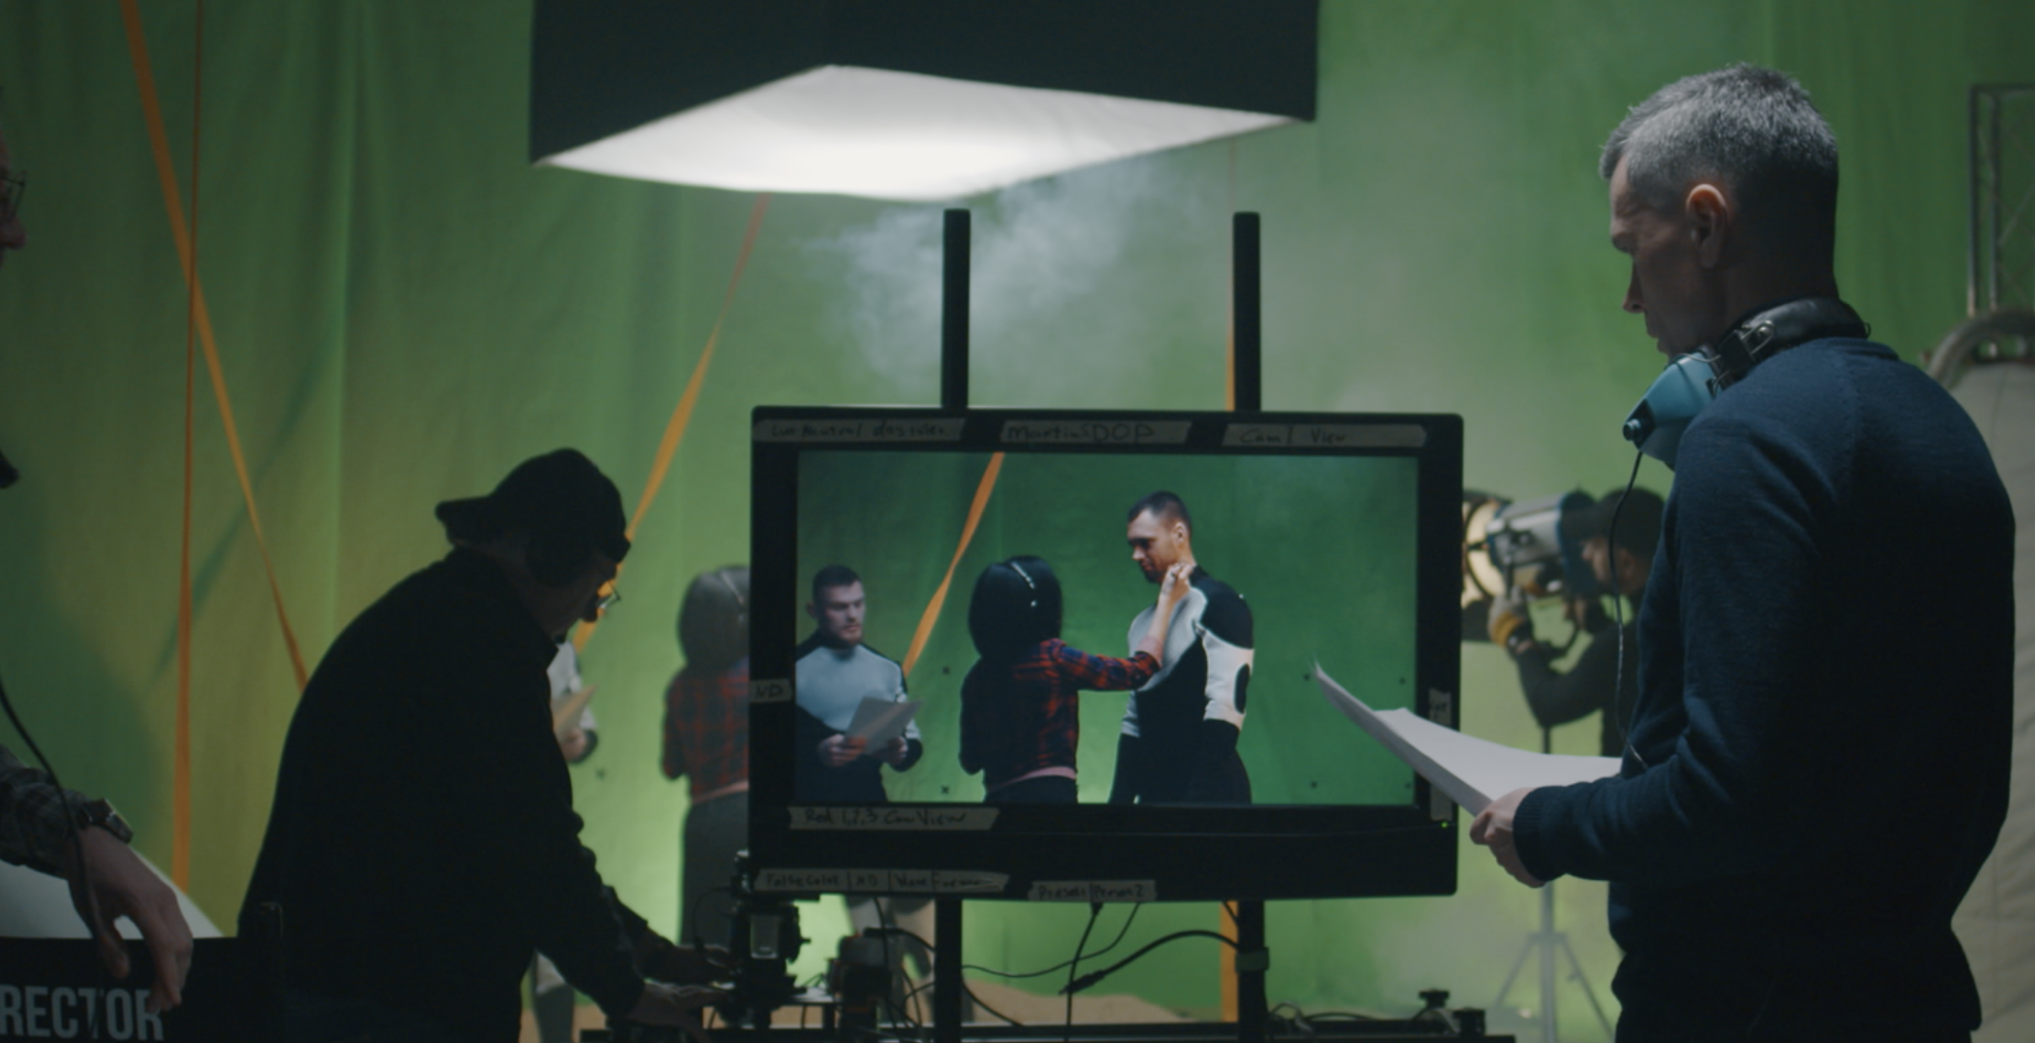
When selecting your green screen, there are many different approaches that entirely depend on your needs and budget. For the professional, you might consider a full-studio, green cyclorama that can be utilized for a wide variety of shoots. However, there are more affordable and portable options as well. You can use a painted wall, a large board, a fabric drape, canvas, or any other completely flat surface that can be painted green. What’s most important is that the color is consistent, not shiny, and the texture is totally flat to ensure a clean look after compositing. If you choose to use a backdrop or fabric, don’t forget to also pack stands to affix it behind your subject appropriately and consider a steamer for fabric backdrops to dispel wrinkles.
Another situation-dependent component is studio lighting. Ideally, you should still use at least a three-point lighting technique or a similar strategy using the softest and most balanced light systems available to you. While your lighting situation may not be flexible, it is especially important to make use of some kind of diffusion to avoid any harsh shadows and create an even light tone. If shooting outdoors with a green screen, you may not need any additional lights at all but may still need to apply some diffusion to the sunlight.
Working On-Set
Once on-set, your shoot should proceed mostly like it would without the green screen. However, there are a few keynotes to remember when working with a green screen that can be applied on set. Begin by setting up your green screen along with your lighting so that you can begin to visualize how they are going to look on camera. Try to make sure to at least utilize two lights on either side of the camera that hit the subject from two sides, 45 degrees apart (like a triangle). Watch out for any noticeable light flare from any source as well.
You’ll also want to keep as much distance from the subject and the green screen as possible, especially if you are not making use of a hair light to make your subject pop out from the background. The reason for this is because if your subject appears flat against the green screen, it can often create difficulties in the keying process or even cause a green halo to form around your subject that is tough to edit out. That being said, don’t put too much distance as you still need the green screen to make up the entire background behind the subject.
When setting up the camera, there are a few key setting limitations to keep in mind. Try to shoot at faster shutter speeds like 1/100 in order to eliminate motion blur. ISO settings should also be kept as low as possible to prevent unwanted light artifacts that can also destroy your clean key. Aperture is a bit more flexible, but raising it a bit higher than you normally would can provide an added depth of field to blur the green screen better.
Try to avoid certain visual nuisances for green screen shooting. Most apparent is to avoid wearing or holding anything that is green as it will end up subjected to the same keying process as the background. Just as important is to avoid anything shiny or see-through as they can also lead to problems during compositing because of the green bleed through.

Editing with Chroma Key
After completing your shoot the magic truly begins as this is where the “keying” and “compositing” concepts we’ve been talking about come into play. Essentially, those terms along with Chroma Key refer to the process of taking an image out of a frame and replacing, or compositing, it with another. Unfortunately, this process is dependent upon the non-linear video editor you are using, but functionally it should work the same way.
Begin by selecting a background to replace your green screen during the composite. You can find your own or there are likely many to choose from included in your software of choice. Next you will need to begin the keying process, which starts with arranging your timeline for traditional editing and selecting the Keying option or Qualifier option. The first step is just identifying the color of the green screen for the software so that it can highlight it for composite. Once you have it isolated, which may require additional editing to soften the lines between your subject and the background, you’ll use the platform’s Alpha Output function or related tool to place your chosen background. After a little more fine-tuning to make it look the way you want, you’ll have your green screen composite!
Tips & Tricks
While you are likely already on your way to creating your own green screen/chroma key magic, we have just a few more small tips that might help you along the way. We mentioned limited translucent, reflective, and green material when shooting, as this creates green spill, but even the obvious examples are not all of the possible hang-ups to creating the cleanest key. Another strange case is actually blond hair! It is also slightly translucent and has reflective problems that make it challenging to green screen with. One of the best solutions is to try using a blue screen instead, but that also comes with its own limitations.
Another editing solution is to attempt to create what are called “masks” around your subject or any items in the shot as this makes the chroma key effect a lot smoother when applied because it shows the editing tool that you want the masked part of the frame to remain as is. Just make sure the edges of your mask are as smooth as possible to make the shot look unprocessed.
Lastly, feel free to get a little crazy with it. Green screen isn’t always to be used simply to replace boring backgrounds with colorful ones. It can also be used to create a more interesting exterior outside a window while shooting a driving scene or to add in special VFX to your shot. The more you practice with green screen, the better you will get at molding it to fit your needs. If you don’t have some of these tools or just want to make sure that your next green screen project looks as professional as possible, consider getting in touch with seasoned, green screen experts and digital media strategy professionals like ourselves for a consultation today.
